The successful convening of a meeting cannot be achieved without good sound effects. Some friends might think that sound debugging is simply connecting the microphone, speakers, mixer, and amplifier together and then all is well, but this is not the case. Sound system for conference hall debugging has many intricacies, and just connecting the equipment together won't achieve good results. Imagine if the sound during the meeting is too loud or too quiet, or if it cuts in and out, it will greatly discount the meeting's effectiveness. With the advancement of modern technology, the sound amplification system has also changed. Especially in meetings, the application of sound amplification equipment has saved a lot of manpower and material costs, while greatly improving meeting efficiency. So, how do we debug to achieve the perfect sound system for conference hall effect?

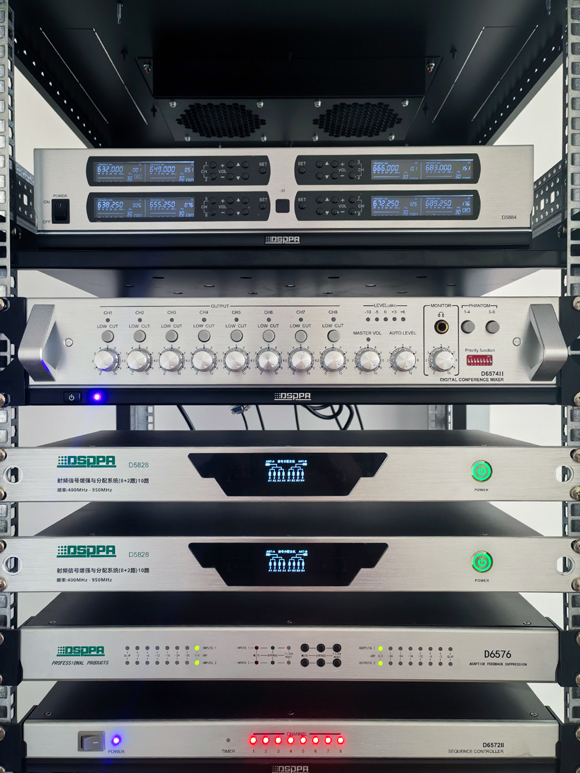
Correct system connection is the foundation of sound system for conference hall debugging. According to the system configuration connection diagram, carefully check the wiring and power system, preset the function buttons of the sound equipment, and ensure the microphone has enough power.

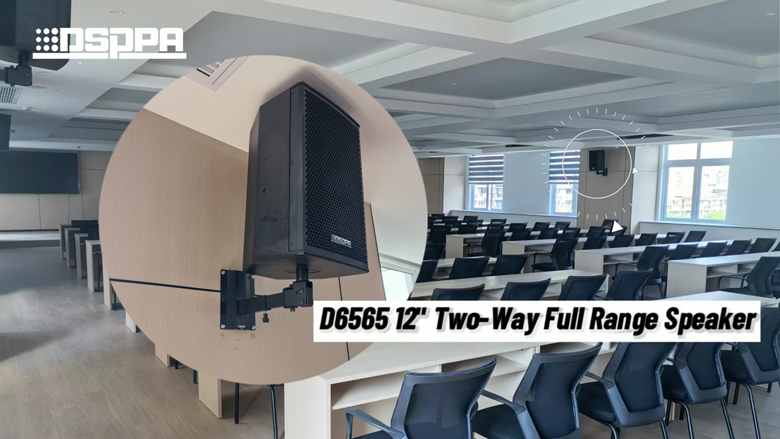
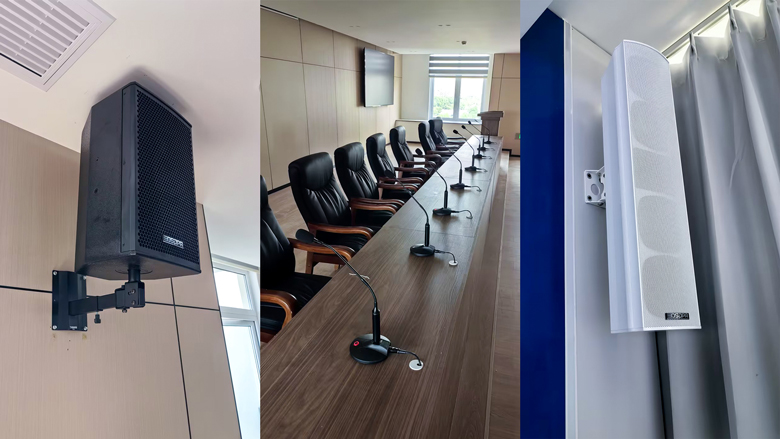
The main speakers should be placed on both sides of the podium. For separate speakers, the woofer should be at the bottom, the midrange speaker in the middle, and the tweeter at the top. If the radiation areas of the speakers on both sides correspond, it will greatly improve the sound quality. Avoid placing potted plants, table lamps, or porcelain statues on the speakers to prevent them from falling due to speaker vibrations and interrupting the meeting.

After confirming that the system and hardware equipment are normal, connect the power supply to the equipment, turn on the amplifier, and set the level to max. Set the mixer input gain to 0 decibels on the mixing console indicator, and slowly push up the mixer output faders, adjusting them according to the volume from the speakers to achieve the best sound volume. To ensure the best debugging effect, it is recommended to use a phase detector to check if each speaker is in phase.

Push the mixer channel faders to 0 decibels, place the microphone at the podium position, turn on the monitor output, find the frequency band that causes the microphone to whistle, and adjust the equalizer settings to eliminate it. The microphone should not be aimed at the speakers, and if necessary, the podium position can be adjusted slightly. The operation should be gentle to ensure that when the whistling occurs, it remains at a stable level before further adjustment for accuracy.
In general, the preliminary debugging of the meeting sound system for conference hall is crucial. Many people might think that debugging a sound system for conference hall is too complex, and sometimes it's hard to achieve good results even after extensive preparation. Debugging a professional sound system for sale requires patience and carefulness, and it requires the operator to practice repeatedly, accumulating experience through hands-on practice. We hope that the carefully prepared four-step debugging guide can help you in your meeting preparations. With the aid of professional debugging instruments, you will surely be able to achieve a pleasant and natural sound system for conference hall effect!